Ever since I started food blogging I’ve been wanting new food backgrounds but couldn’t find them anywhere. I checked in ikea and found wood pieces that were too shiny and didn’t work well. Over the past several months I’ve been using a simle white and black chalkboard and soon started feeling as if my photos were getting a little boring. I’m sure my reader’s are getting tired of the white/black as well because let’s face it, who wants to look at boring food photos?
A few weeks ago I ran into this post by Gina@Running to the kitchen who originally adapted it from Lindsey@Love and olive oil. This concept is originally from them but I’ve made a few changes along the way. Lindsey used crafting boards and glued them together and Gina came up with the idea of using plank paneling instead because they basically clip together. She used 8 feet long boards and had them cut in thirds at Lowes. I went there searching for the 8 foot boards but to my surprise found boards that were a perfect 3 feet long which was exactly what I wanted. They are very thin at about 1/4” which was a plus for me because I don’t have the strength to carry heavy boards while photographing.
Here’s what you will need to make 2 boards:
- 1 pack of plank paneling (36 in long) $10
- 1 brown paint sample $2.97 (mandatory for the basic and or color)
- 1 paint sample; color of your choice $2.97 (optional)
- 1 wood glue $2.99
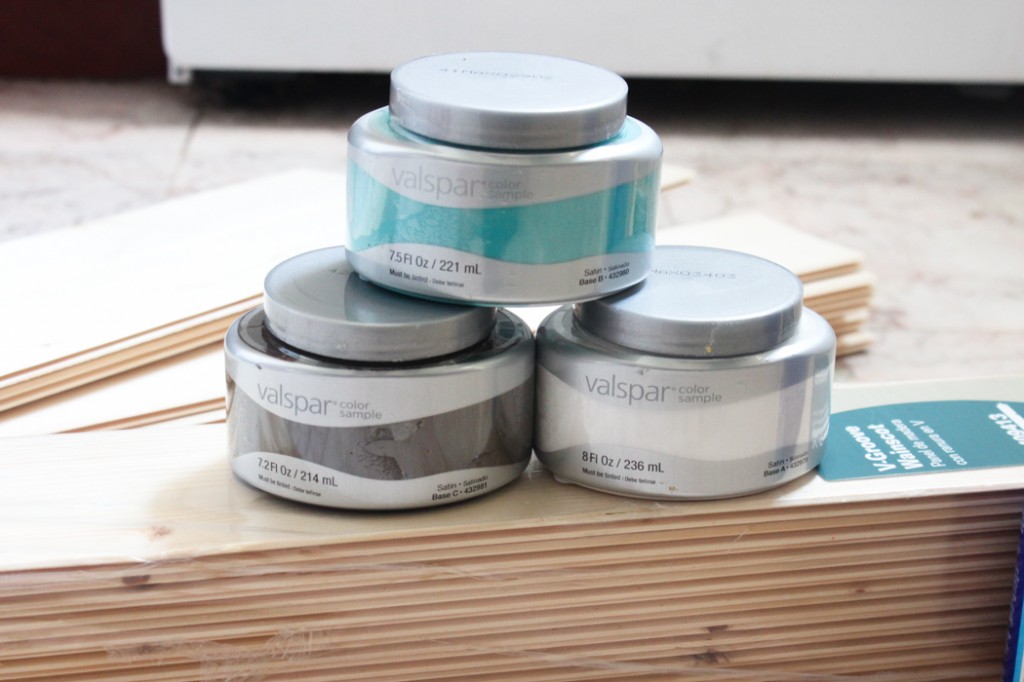
A pack of plank paneling costs about $10 and contains 12 planks which makes 2 boards (backgrounds). I purchased two packs and made 4 boards in total. For the colors, I purchased 3 paint samples for $2.97 each and only used less than half of each bottle. In addition to the paint and planks You will also need glue and a paint brush. Making two board will cost you less than $20. You don’t even have to glue the boards because they clip right into one another but I glued them because I will be moving them around while photographing so I wanted them to be able to hold.
Step 1:
Apply glue to the edges of the boards and clip 6 together to make one board and the other 6 to make another board.

Step 2: Pour half the brown paint mixture into a paint bowl and mix with water until you have a 50/50 ratio paint:water. Keep a dry cloth or paper towels nearby and brush the brown paint mixture on the first board coating generously. After you are done take the cloth and gently wipe the board. You can see the difference below between the board before wiping the paint off and after; the wood looks much more natural and better after wiping. Next repeat the process for the 2nd board and allow the boards to dry for 10-15 minutes.

Step 3: After the boards have dried apply the 2nd coat of paint by stroking small amounts of paint and brushing it quickly. Do not coat the entire board because we are aiming for a distressed look. The more paint you add the less distressed the wood will look. I made 4 boards in total; I left one of my boards with the first brown layer alone because I love how the color turned out. I painted another board with white and one with torques ( although it was not the shade I had in mind..). I also left one board as is without adding any paint at all to it. Although I didn’t do this because I can’t carry heavy things but if you want you can glue two boards together to have a double sided board.
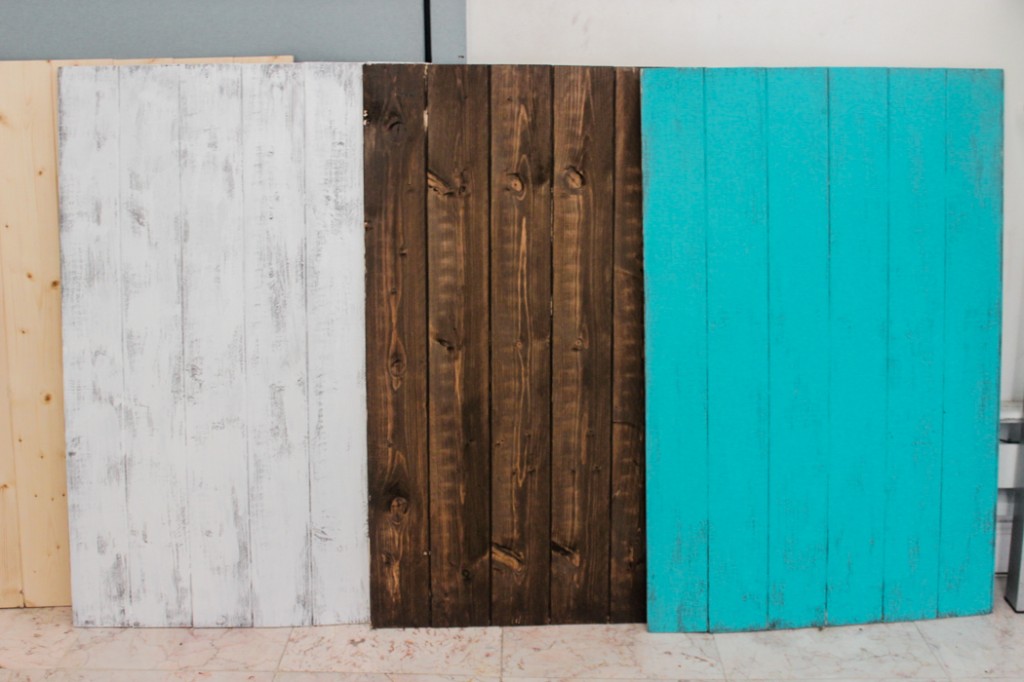
After trying out the board yesterday I was shocked at home great the wood looked in the pictures. It’s amazing ho much the background does for the photos. I’ve only used the white so far and can’t wait to start using all my new boards! I hope this helps!


Hi, could you please TELL ME WHERE DID YOU BUY THE PANELS?
Thank you very much
Please can you sell the ready made planks (4 different style you did) to get the materials is very difficult here in Nigeria. I love food photography & want to major in it.