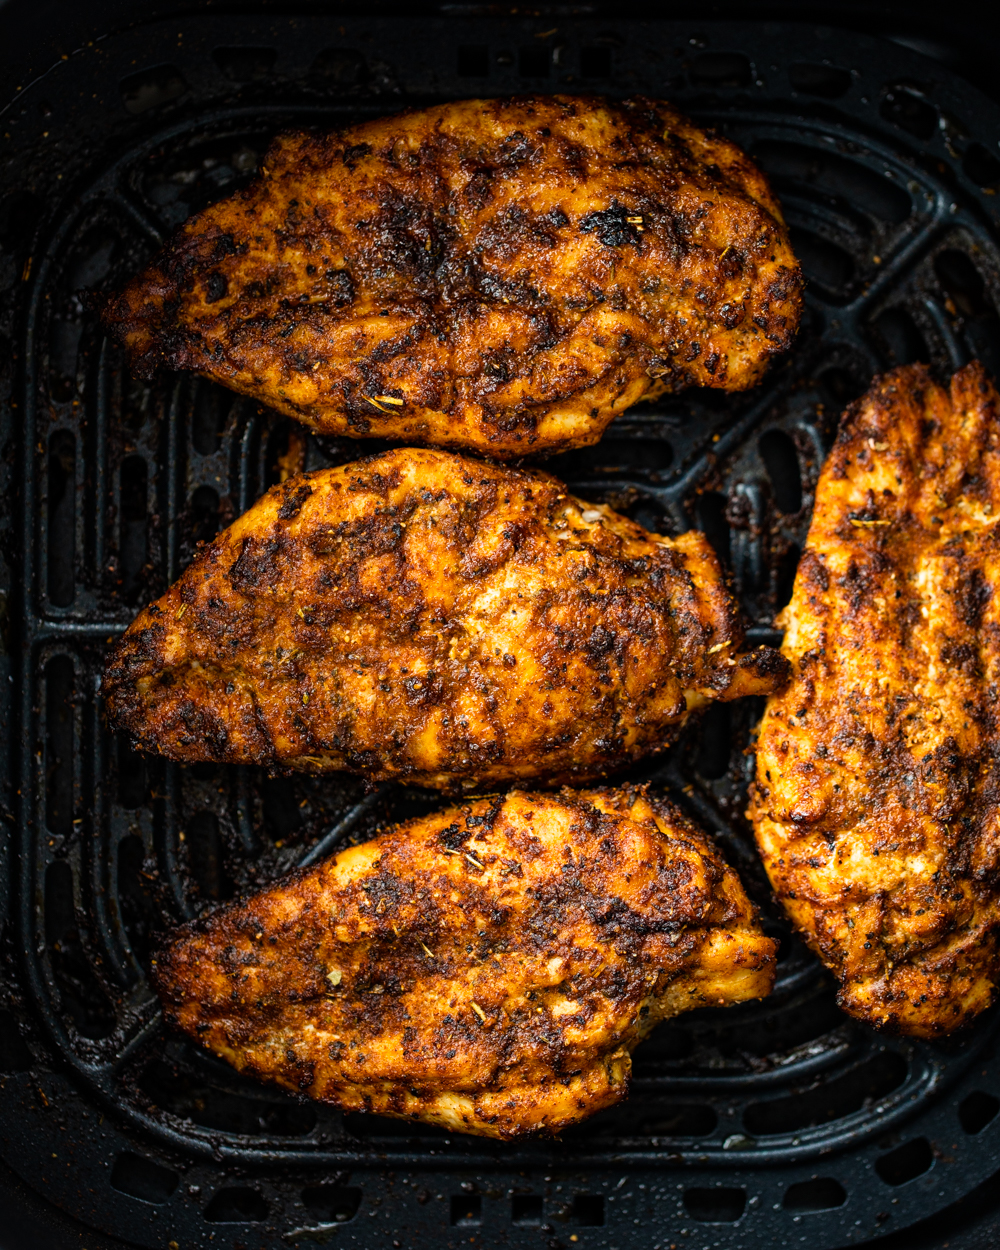
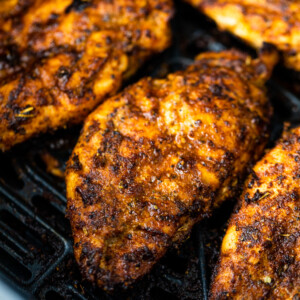
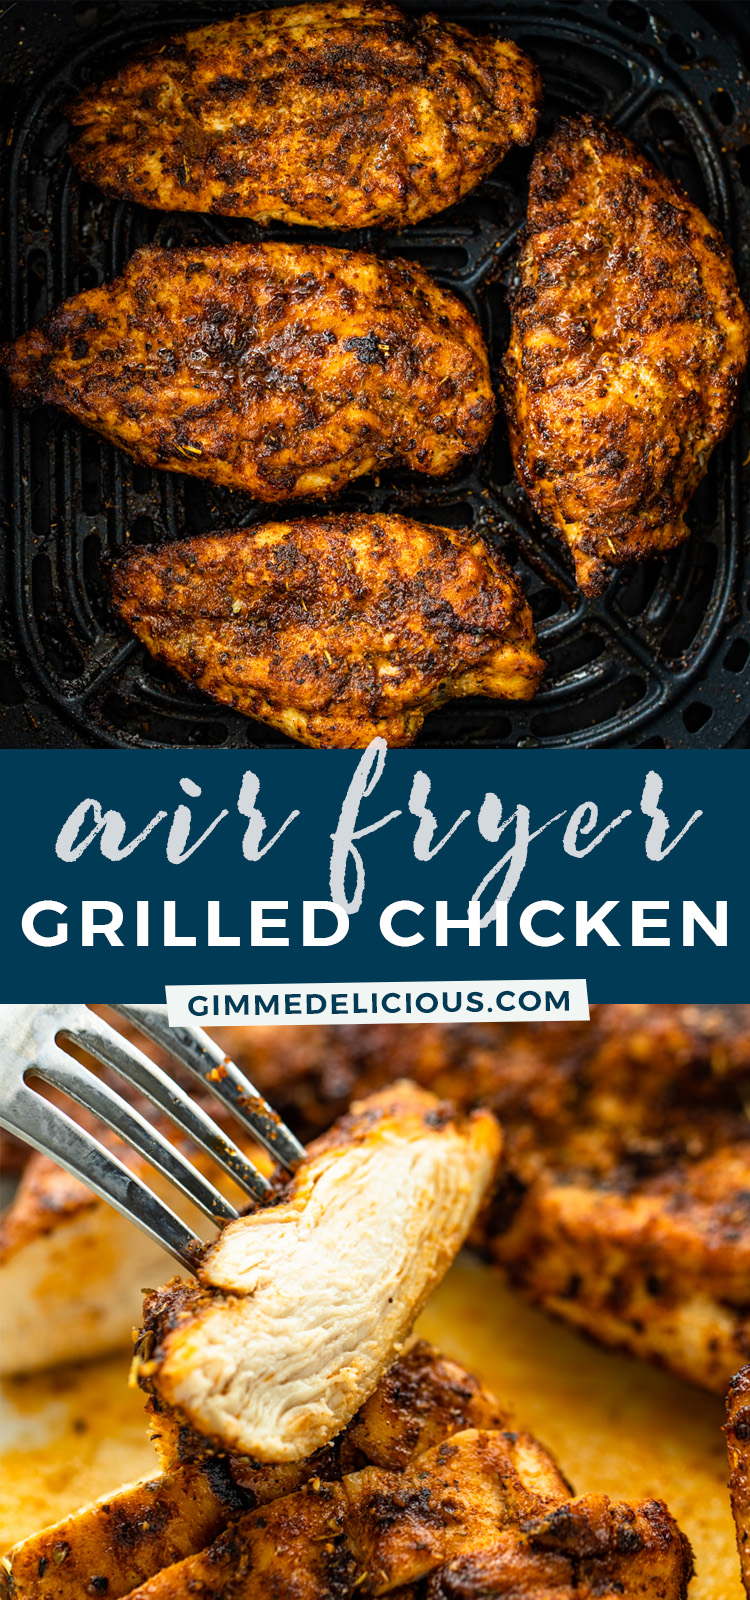
Learn how to make juicy and flavorful grilled chicken breasts in the air fryer in just 20 minutes! This life-changing way of cooking chicken is great on rice, salads, in sandwiches, and so much more.
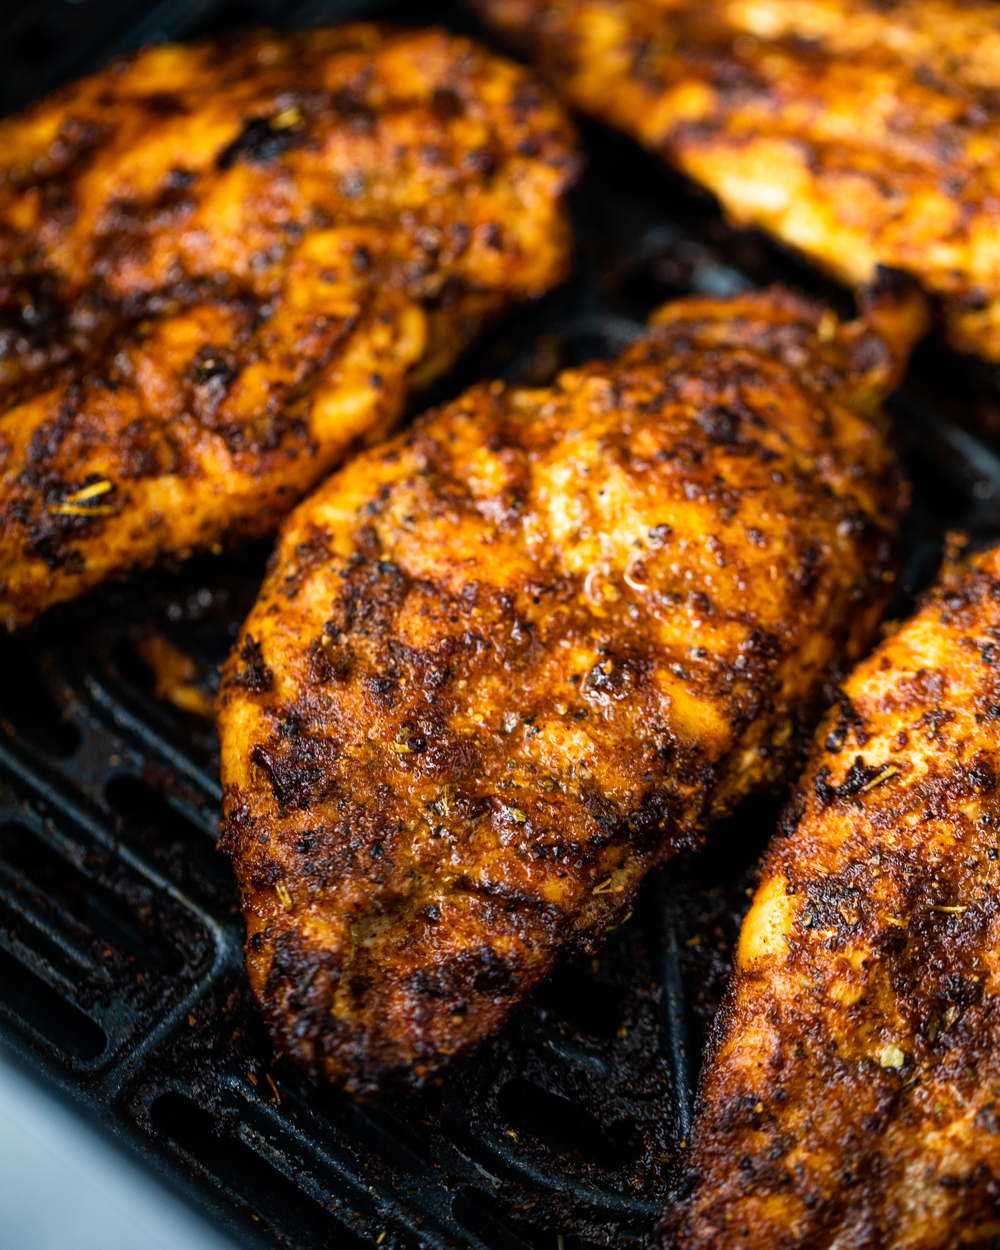
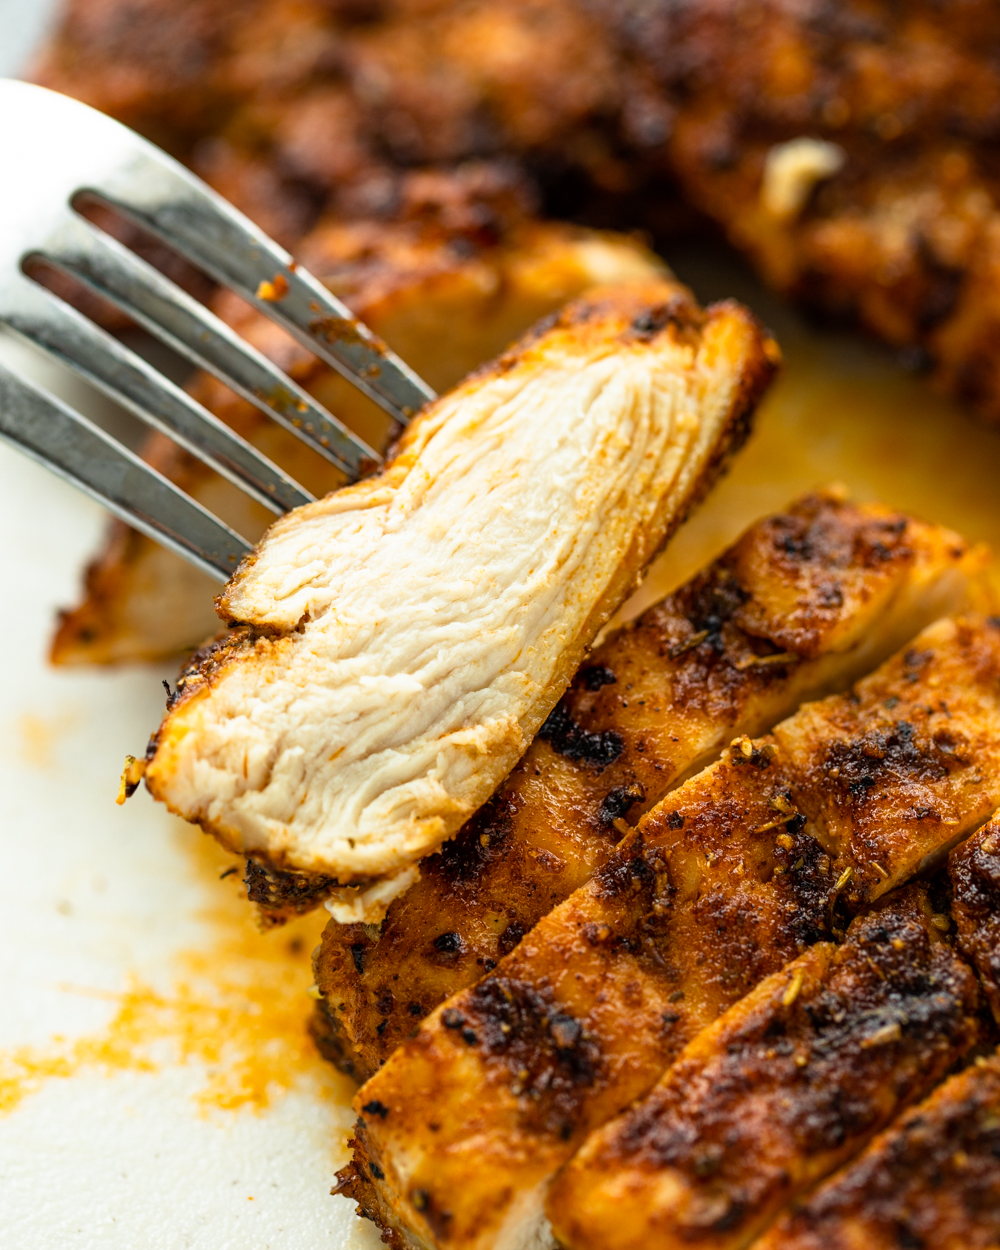
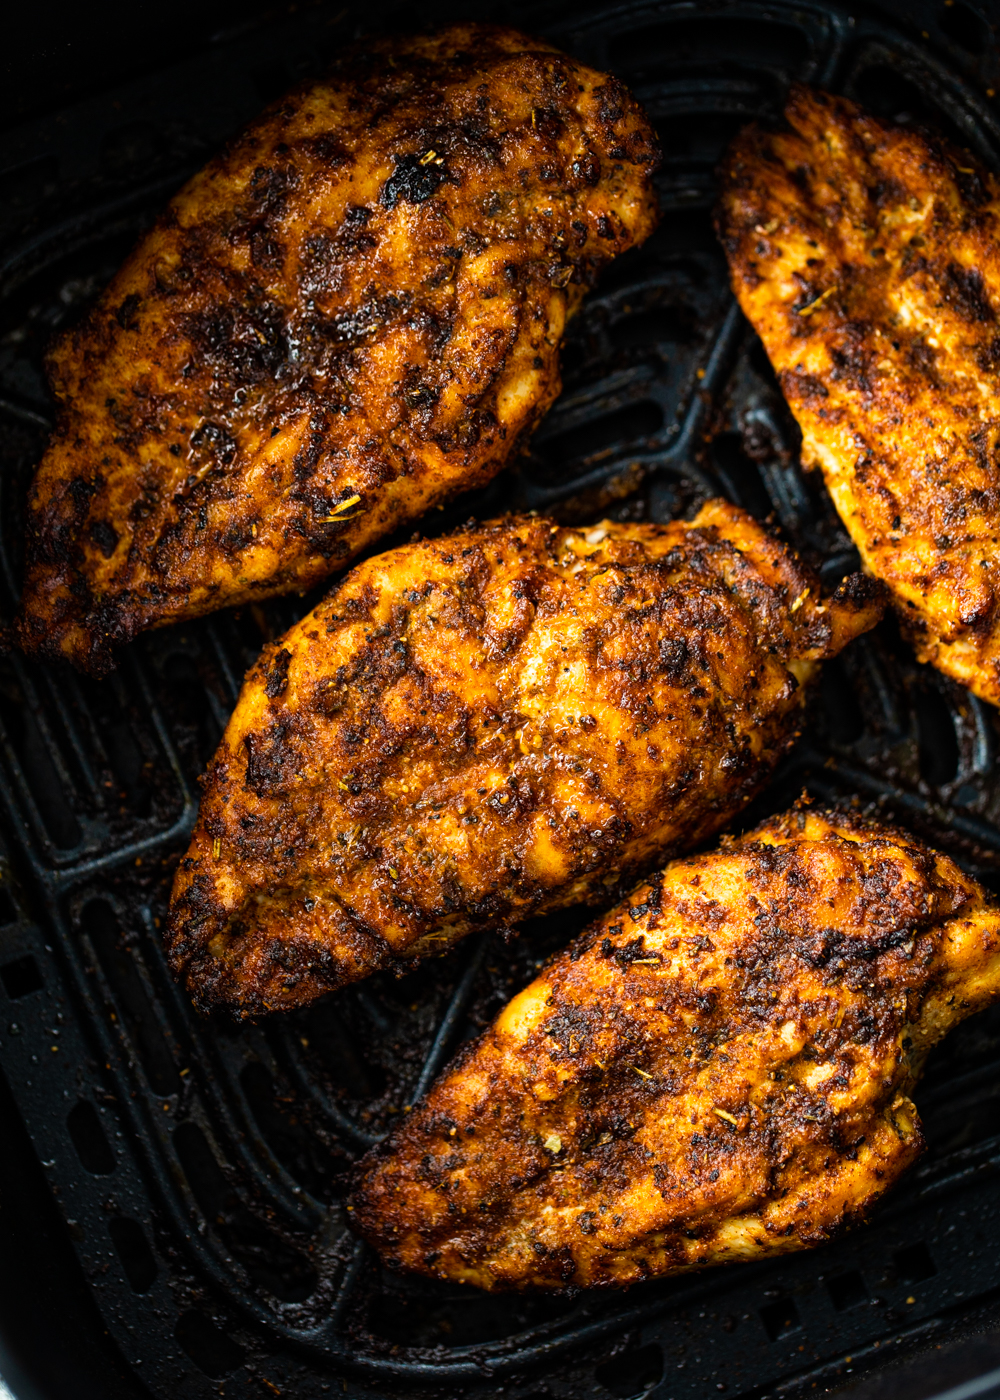
When you cut into a piece of this grilled chicken breast, you will be met with a juicy, tender piece of meat. The flavor is so incredible you seriously can’t resist eating it right away and going for the next taste.
I pretty much love chicken breasts more than any other cut of meat. If it’s cooked properly, it’s so juicy and delicious. You can season it in so many ways, and it’s great for all occasions. I think you will find that using the air fryer makes this chicken breast even more succulent, and it’s majorly EASY!
What You’ll Need To Make Air Fryer Grilled Chicken Breasts
- Chicken: For best results, use boneless, skinless chicken breasts. You could swap them for chicken thighs, but the flavor is going to be different.
- Olive Oil: Using olive oil is the perfect way to give the chicken a yummy exterior that’s hard to beat. You could swap the olive oil for any other oil of your choice.
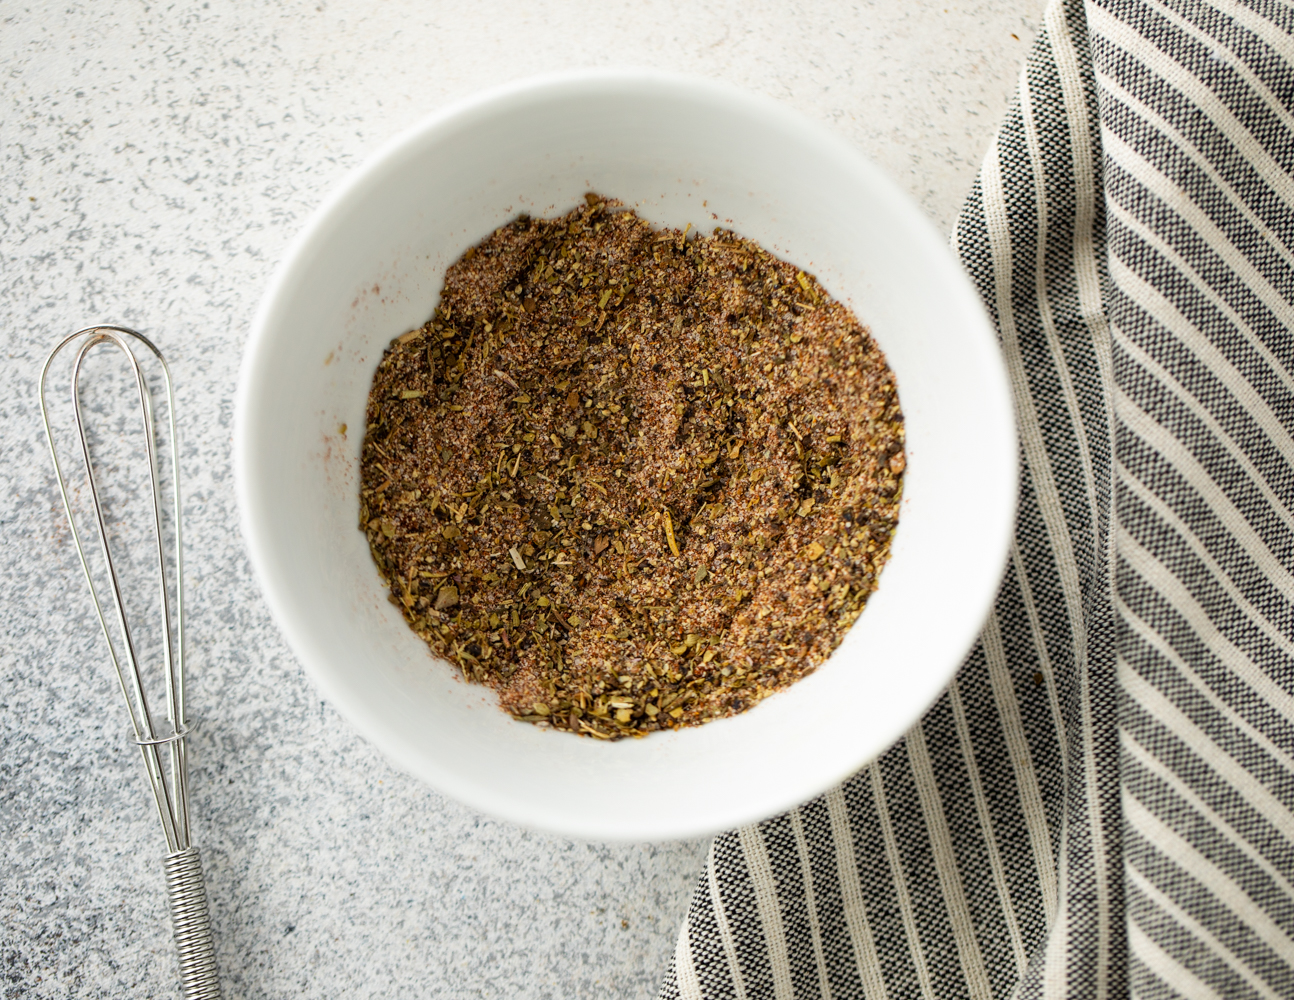
- Seasonings: The perfectly seasoned chicken comes from a combination of chili powder, Italian seasoning, garlic powder, onion powder, salt, and pepper.
How To Make Air Fryer Chicken Breasts
I know it’s hard to imagine something that tastes so incredible only takes 20 minutes to cook, but it does! And it’s worth every second.
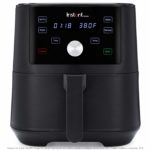
First, you will need to get the air fryer preheated to 390 degrees F.
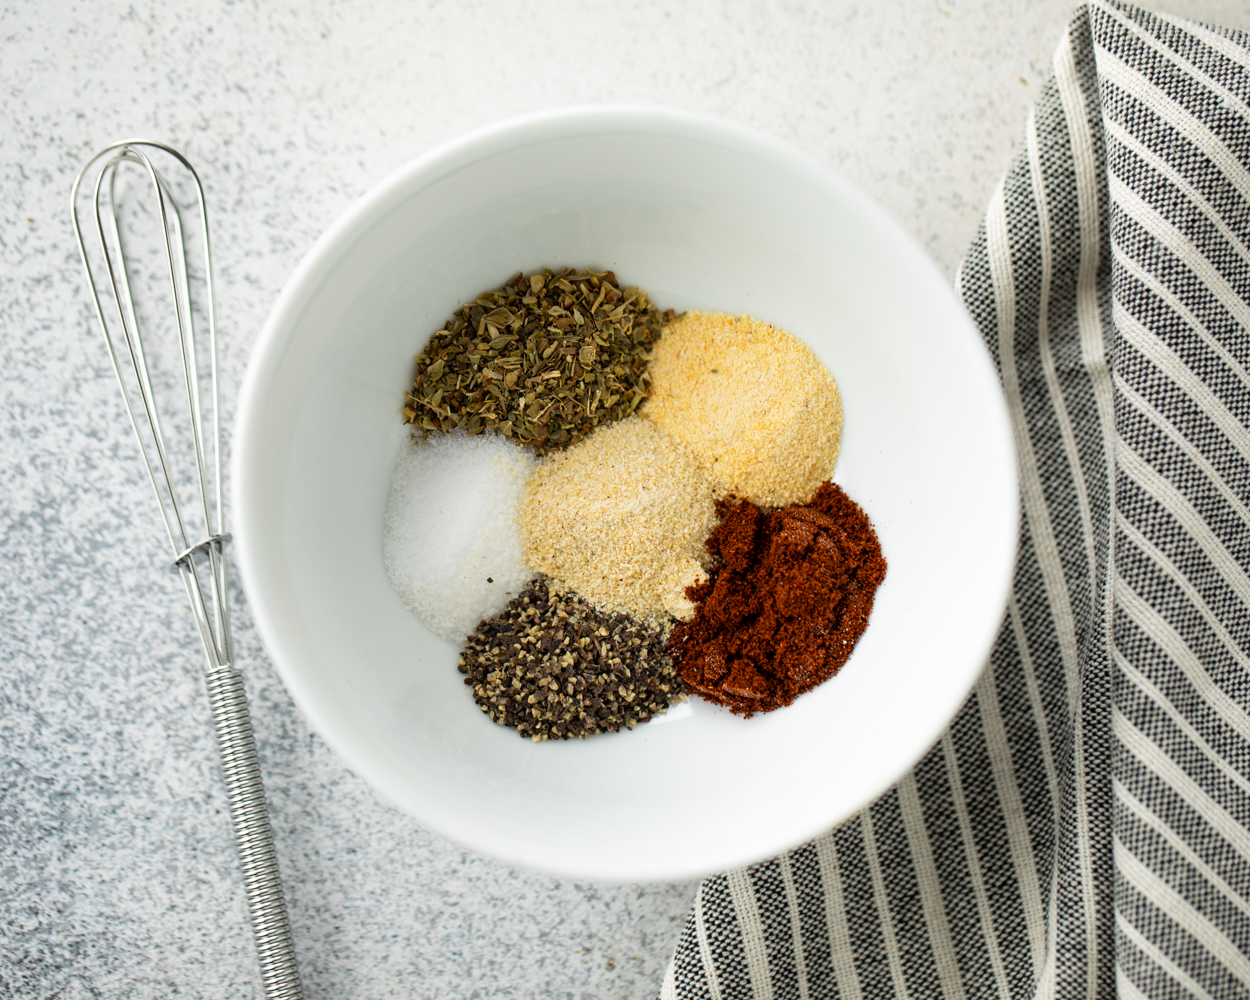
Start whisking together the seasonings in a small bowl until they are combined.
Then take the chicken breasts and pound them out, so the chicken has an even thickness. Rub each side of the chicken with olive oil and add on the spices.
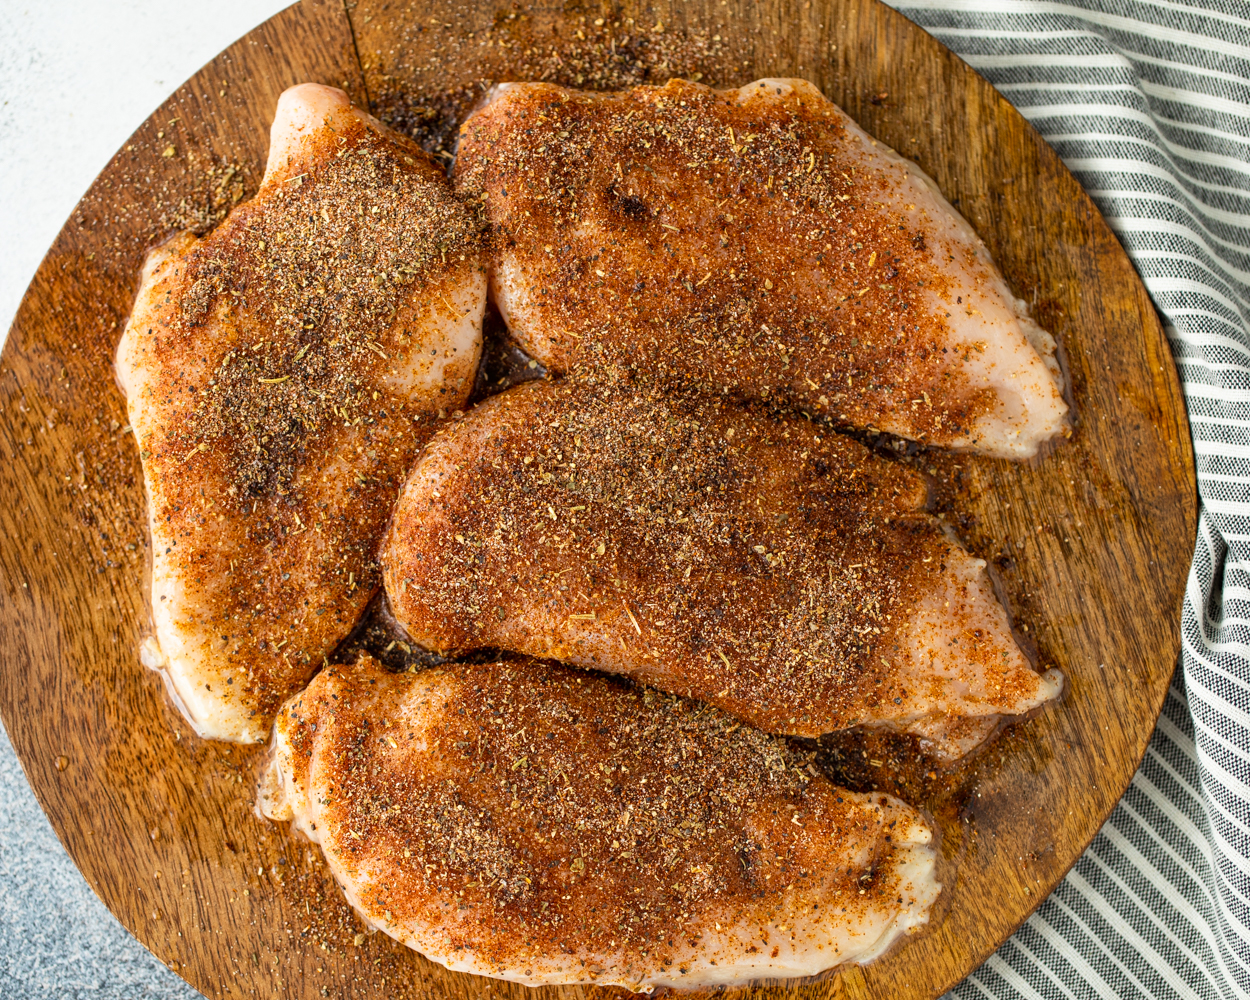
NOTE: You can skip pounding the chicken, but it allows the chicken to cook more evenly.
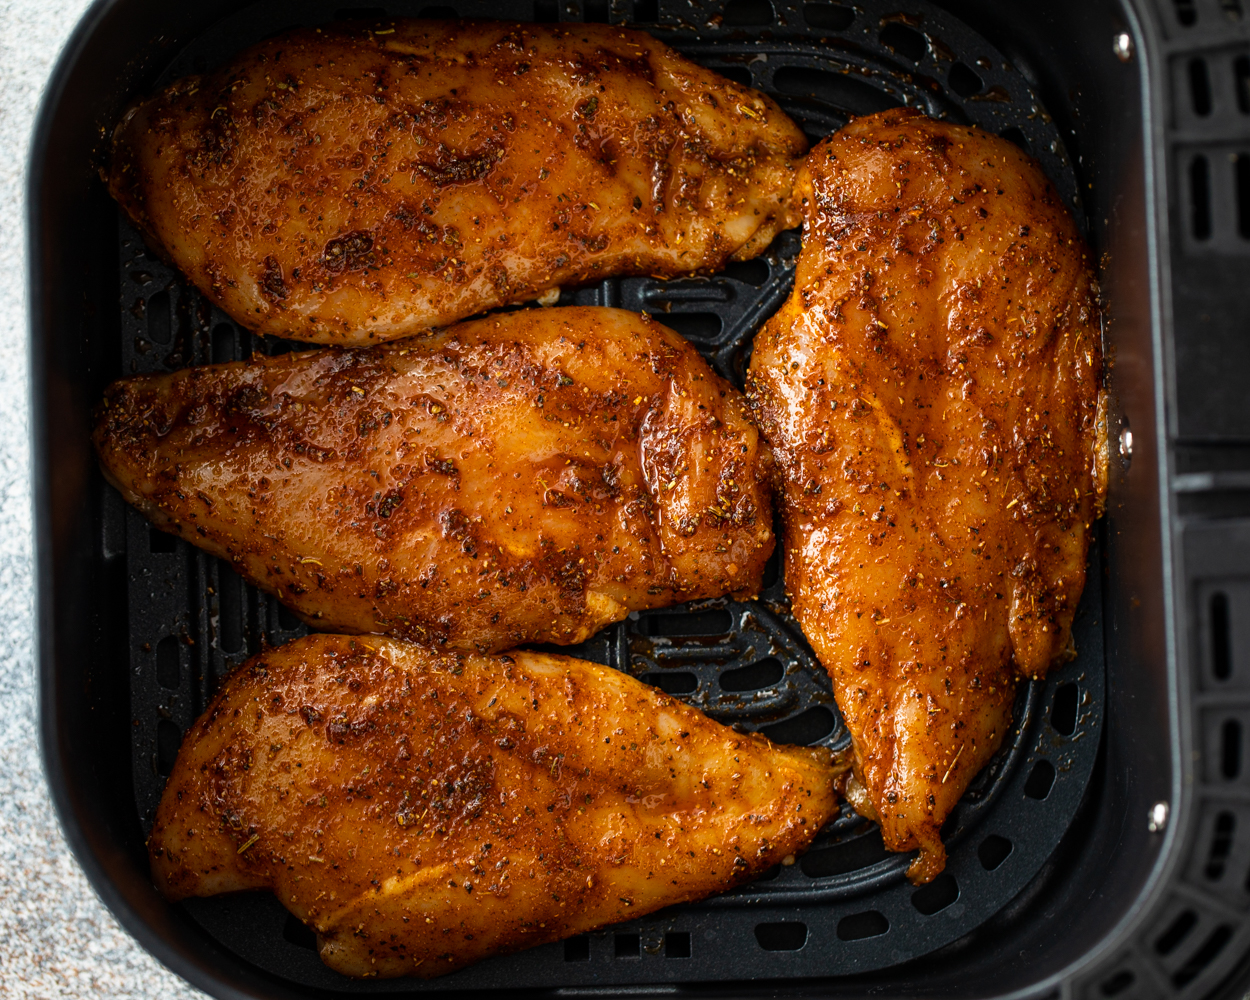
Next, place the seasoned chicken breasts in the air fryer and cook for 10 minutes on each side. It’s done once it reaches an internal temperature of 165 degrees F.
Take the chicken out of the air fryer and let it rest for 5 minutes. Then slice into it and enjoy it!
Can I Use Frozen Chicken?
For this chicken recipe, it’s best to use chicken that has been thawed. It will cook quicker and more evenly. When possible, it’s best to thaw the chicken in the refrigerator overnight. This is the safest method, but it does take the longest.
Another way to thaw the chicken breasts is by placing them inside of a ziplock back. I usually use two bags to prevent any water from getting to the chicken. Then submerge the bag of chicken in a bowl of cold water. You will need to change the water out every little bit. It’s important to use cold water, not warm or hot. You will need to cook it as soon as it’s thawed using this method.

How Do You Store Leftover Air Fryer Grilled Chicken?
It’s best to store leftovers in an airtight container in the fridge. You need to let the chicken breasts cool down all the way before storing it. It will last in the fridge for up to five days.
You can add the leftover chicken to salads, eat in a wrap, or even add it to an omelet. It’s wonderful for meal prepping and it’s nice to have on hand whenever you need a quick and simple meal.

More Air Fryer Chicken Recipes
- Air Fryer Chicken Tenders
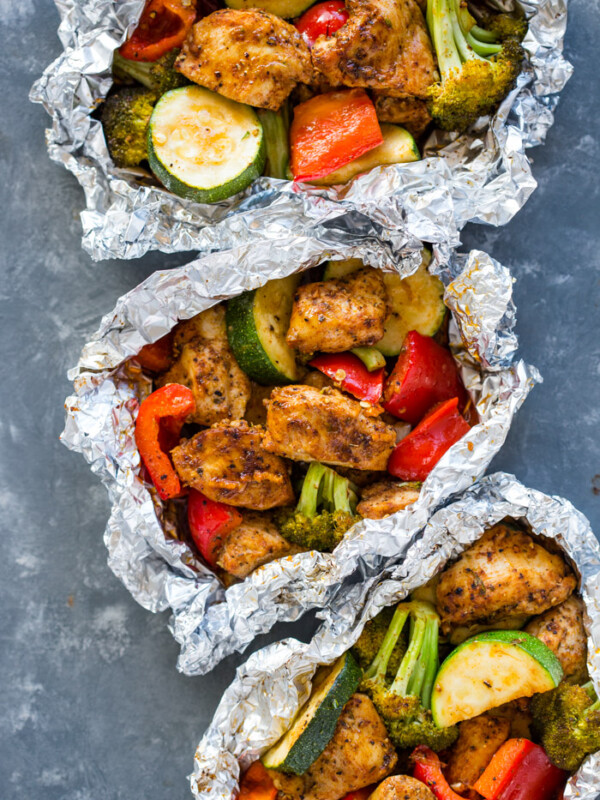
- Air Fryer Chicken and Veggies
- Air Fryer Whole Roast Chicken
- Air Fryer Fried Chicken
- Air Fryer Chicken Wings
- Air Fryer Chicken Thighs
- Air Fryer Chicken Nuggets
- Air Fryer Chicken Parmesan
- Air Fryer Chicken Fajitas
Air Fryer Chicken Breasts
Ingredients
- 4 chicken breasts, skinless, boneless
- 1 tablespoon olive oil, or oil of choice
- 1 teaspoon chili powder
- 1 teaspoon Italian seasoning, or oregano
- 1 teaspoon garlic powder
- 1 teaspoon onion powder
- salt
- pepper
Instructions
- Preheat the air fryer to 390F.
- In a small bowl, whisk the spices until combined.
- Pound chicken breasts to even thickness (optional step) and rub both sides of chicken breasts with olive oil and sprinkle with the spice mix.
- Transfer to preheated air fryer and cook 10 minutes per side or until cooked through and internal temperature reaches 165F.
- Remove chicken breasts from the air fryer and allow to rest for at least 5 minutes before slicing.
Equipment

Nutrition
Nutrition information is automatically calculated, so should only be used as an approximation.


Very nicely explained with all the delicate tips
These are easy and delicious. Good on their own, a great starter for other recipes, and easy to take or add to salads for a packed lunch.
Has become an anytime favorite. Goes well with pretty much anything. Pounding out the chicken is the key to it cooking evenly (20 minutes @ 390F worked great in my 6QT airfryer)
I had the opposite effect. After 20 min.it was still raw. I cooked an additional 5 min.on each side. Total cooking time 30 min. It was perfect. Juicy with lots of flavour. Thankyou for the recipe. Used it for chicken ceasar wraps. awesome.
This was good however I used butterflied chicken so it was a little dry, my fault. Had baked potato and Persian salad, yummy!
Not sure why this hasn’t been mentioned earlier (not that I saw, anyway), but cut the chicken breast tenderloins (the smaller, thin sections) from the thicker upper part of the breasts. The temp used was 375°. The thicker sections took 10-ish minutes total. They were put in first. The tenderlo were added in the last five minutes of frying. Everything was ready in 10 minutes, 15 counting putting the seasoning on the chicken.
I put the oil in a dish and stirred in the seasoning, then spooned on to both sides of the chicken before air frying. It wouldn’t have occurred to me to use chili seasoning on chicken, but it is delicious! Also added smoked paprika, which intensified the flavor even more!
Made this twice in one week now. Both times were amazing. Tender, moist, very juicy – will definitely be making this again!
i did for 10 minutes on each side and it was good just very dry i see people saying theirs was juicy.. i should have known better because i usually do about 8 minutes on each side but i trusted the recipe lol kinda let my family down a bit was really dry but again thats my fault as i knew better . overall the flavour of seasonings was still good
Great flavor and juicy but did not cook 20 minutes
Start checking and cutting to check for pink At 14 minutes and took out when pink juice cleared
Delicious as a first time user
Great mix of seasonings. my chicken came out really good. I cooked mine at 390 for 10 minutes. i forgot to flip them so they stuck but that is me being a beginner. i am trying to work out how the air fryer works at the same time. I think the chicken was juicier because of the olive oil. thank you for posting this recipe. you saved dinner and gave us another go to recipe.
Very tasty! Surprised by how well that spice blend comes together taste wise, thank you!
I was only cooking for myself so I had a couple small thawed chicken tenders to work with, I just mixed up the spice mix in a baggy and scooped it onto the oiled chicken, ended up rubbing it in a bit and adding another avocado oil drizzle over the top… I already had seasoned baby potatoes going in the air frier so I estimated since my chicken pieces weren’t too big they wouldn’t take very long.. so I added them in the last maybe 7 min. I just checked on it every couple min and shook up the potato’s. Overall, , I’m totally happy with this, super tasty, came together very fast with minimal mess. Thank you!
I am a beginning air fryer cook, but I think timing a recipe for an air fryer can be tricky. I am usually skeptical of timing suggestions if cooking a recipe for the first time. In an air fryer, it is easy to cook for less time, check it and continue cooking if necessary. The first time I cooked bacon in my air fryer I overcooked it and it had no taste. I adjusted my cooking time and now the air fryer is my favorite way to cook bacon.
The combination of spices was really good! I never would have thought of mixing them all together like that. As far as cooking time I did 17 minutes at 390 and it was a little too done and the chicken was a bit dry. Next time I’ll try twelve and check the temp. I think it all depends on what air fryer you own. But all in all another great recipe to add to diner rotation! Thanks for posting!😊
Perfect. Family loved. Thank you. A favorite for sure.
I cooked 4 breasts as described (390*, 10 min, flip, 8 min) and made the DRIEST chicken breasts I have ever made using any type of cooking equipment. There is simply NO WAY that ~18 minutes won’t turn chicken into thick cardboard. My guess is that 10 minutes TOTAL is appropriate for an air fryer
LOL!!! I apologize that this happened to you and this isn’t even my website. I was very hesitant about the recipe simply because I don’t trust my air fryer. I have made things in it following someone’s recipe and it was a total waste of food, time, and energy leaving me frustrated with an air fryer that just sits now, until I find a useful purpose for it.
I wouldn’t give up on it yet. I was frustrated with my first two attempts with mine (just got it this Christmas) – food was overcooked/burned, so I started using lower temps than recipes called for and checking/turning after less time than recipe said. Things got better. Did chicken thighs in it and they turned out great. Then I realized that I was probably wrong in that I was using it with it’s back up against the back of the stove top and basically blocking its air vent. Used it yesterday making sure the back of it was unobstructed and my Korean Fried Chicken Wings came out great and stayed crispy. Keep experimenting with it. I now truly believe that I am going to get to love mine!
way too much time in the air fryer. I did two breasts 400 degrees 9 minutes. done perfectly at 165 degrees
I haven’t tried boneless chicken breast in my air fryer yet, but I definitely agree with you. Generally I will brown my chicken on both sides in hot, oven proof skillet (cast iron) for 2 minutes per side after pounding it to an even thickness of 1/2 to 5/8 inch thickness, then into 375 oven for 10 minutes total, flipping after 5 minutes – always turns out great and juicy. So, when I do get around to trying it in the air fryer, I will definitely cook for less time and lower temp than recipe says.